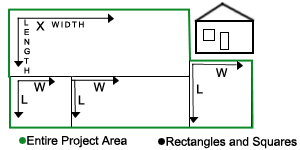
To calculate the amount of Turf & Sod you need for a project, you should first divide the project area into squares and rectangles. Measure length times width of those areas, then add them together for the total amount of sod needed for your project.
Site Preparation
To kill heavy weed infestations or thick grass patches, treat with glyphosate (Roundup), wait 7 to 10 days, rototill or spade the area, then remove the debris.
To kill sparse vegetation, rototill or spade to a depth of 10-15 centimetres (4-6″), then rake off all the debris.
Remove all rocks, roots, pieces of concrete, clods, etc. larger than 1.0 centimeters (1/2″) in diameter.
Do not use pre-emergent herbicides (those which kill seeds as they germinate). These chemicals can seriously injure tender new sod roots.
At least 10 centimetres (4″) of topsoil is ideal. Lack of topsoil is often a contributing factor to disease problems 2 or 3 years after sod installation.
Lawns must be sloped away from all buildings. A vertical drop of 1.0 to 2.0 centimetres (1/2-1″) per horizontal meter is ideal. The slope must never be less than 0.5 centimetre (1/4″) per meter
As a general rule, a starter fertilizer should be used before installing sod. Any fertilizer high in phosphate (the middle number on the bag) may be used. River Meadow custom fertilizer (19-9-19) can be applied at a rate of 2.6 kg per 1,000 sq ft. It is best worked into the soil before laying sod but could be broadcast over sod after installation if not worked into soil first.
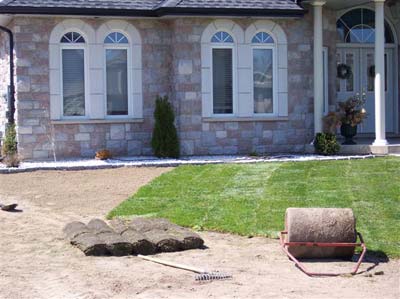
The area is now ready for sod.
Turf & Sod Installation
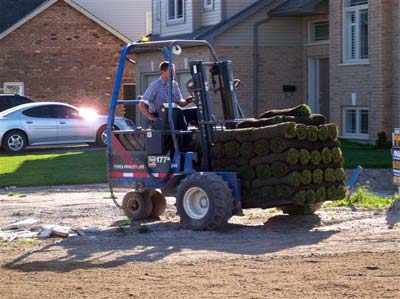
Have the site completely prepared before taking delivery of sod. Install the sod immediately upon delivery.
Locate a straight line, such as a curb or driveway, or run a taut string up the middle of the area to be sodded. Work along this line to establish the first row.
Butt the ends of the sod tightly together. Do not overlap and do not leave gaps. Stagger the rolls so they appear to be in a brick pattern.
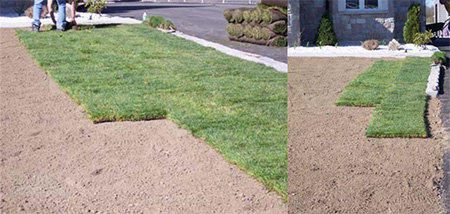
At row ends, in small areas, and to fit non-rectangular areas, cut the sod with a heavy duty knife or sharp straight edge shovel.
As soon as an area equal in size to your sprinkler pattern has been installed, roll the newly laid sod with a one third filled lawn roller to gain good root-to-soil contact.
Water the newly installed sod immediately! The sod must be saturated through its entire thickness and the soil underneath must be moist to a depth of 2.5 centimeters. (1″) Lift a corner of the sod to check.
Water must be applied evenly throughout the entire area including corners and along all edges. The benefit of one gallon of water applied within one hour of installation equals the benefit of six gallons of water applied three hours later.
The new lawn must be kept moist, but not saturated, for a period of two weeks. For the first few days apply 2.5 centimetres (1″) of water each day. Place shallow, straight-sided containers on the lawn under the sprinkler to measure the quantity of water applied. As the sod roots become established, gradually reduce the frequency of watering. By the end of two weeks, normal watering procedures may be followed (refer to Turf & Sod Watering Tips For A Perfect Lawn).
Avoid excessive use of the new lawn for several weeks to allow the sod to establish a good root system.
Once the sod has rooted (7 – 10 days after installation) mowing height and frequency should be the same as for an established lawn. Don¹t hesitate to mow earlier if the grass is growing rapidly.
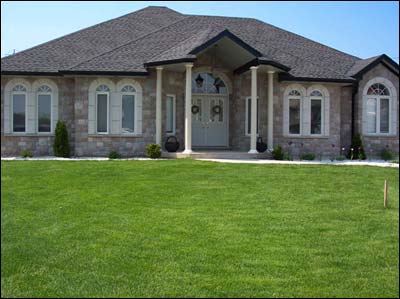
At River Meadow Farms on Vancouver Island, we can help develop a healthy and attractive looking lawn for you with your Premium Turf & Sod grown locally in the Comox Valley. Send us an email or give us a call to see how we can help!